Printing a Temporary Tag
This article explains how to print a temporary tag after it has been issued. If you need help with issuing a temporary tag, refer to our Creating a Temporary Tag Registration article for step-by-step instructions.
Access the Completed Issuance Page
After completing a temporary tag registration, navigate to the completed issuance page for that specific transaction. This page displays all details about the issued tag.
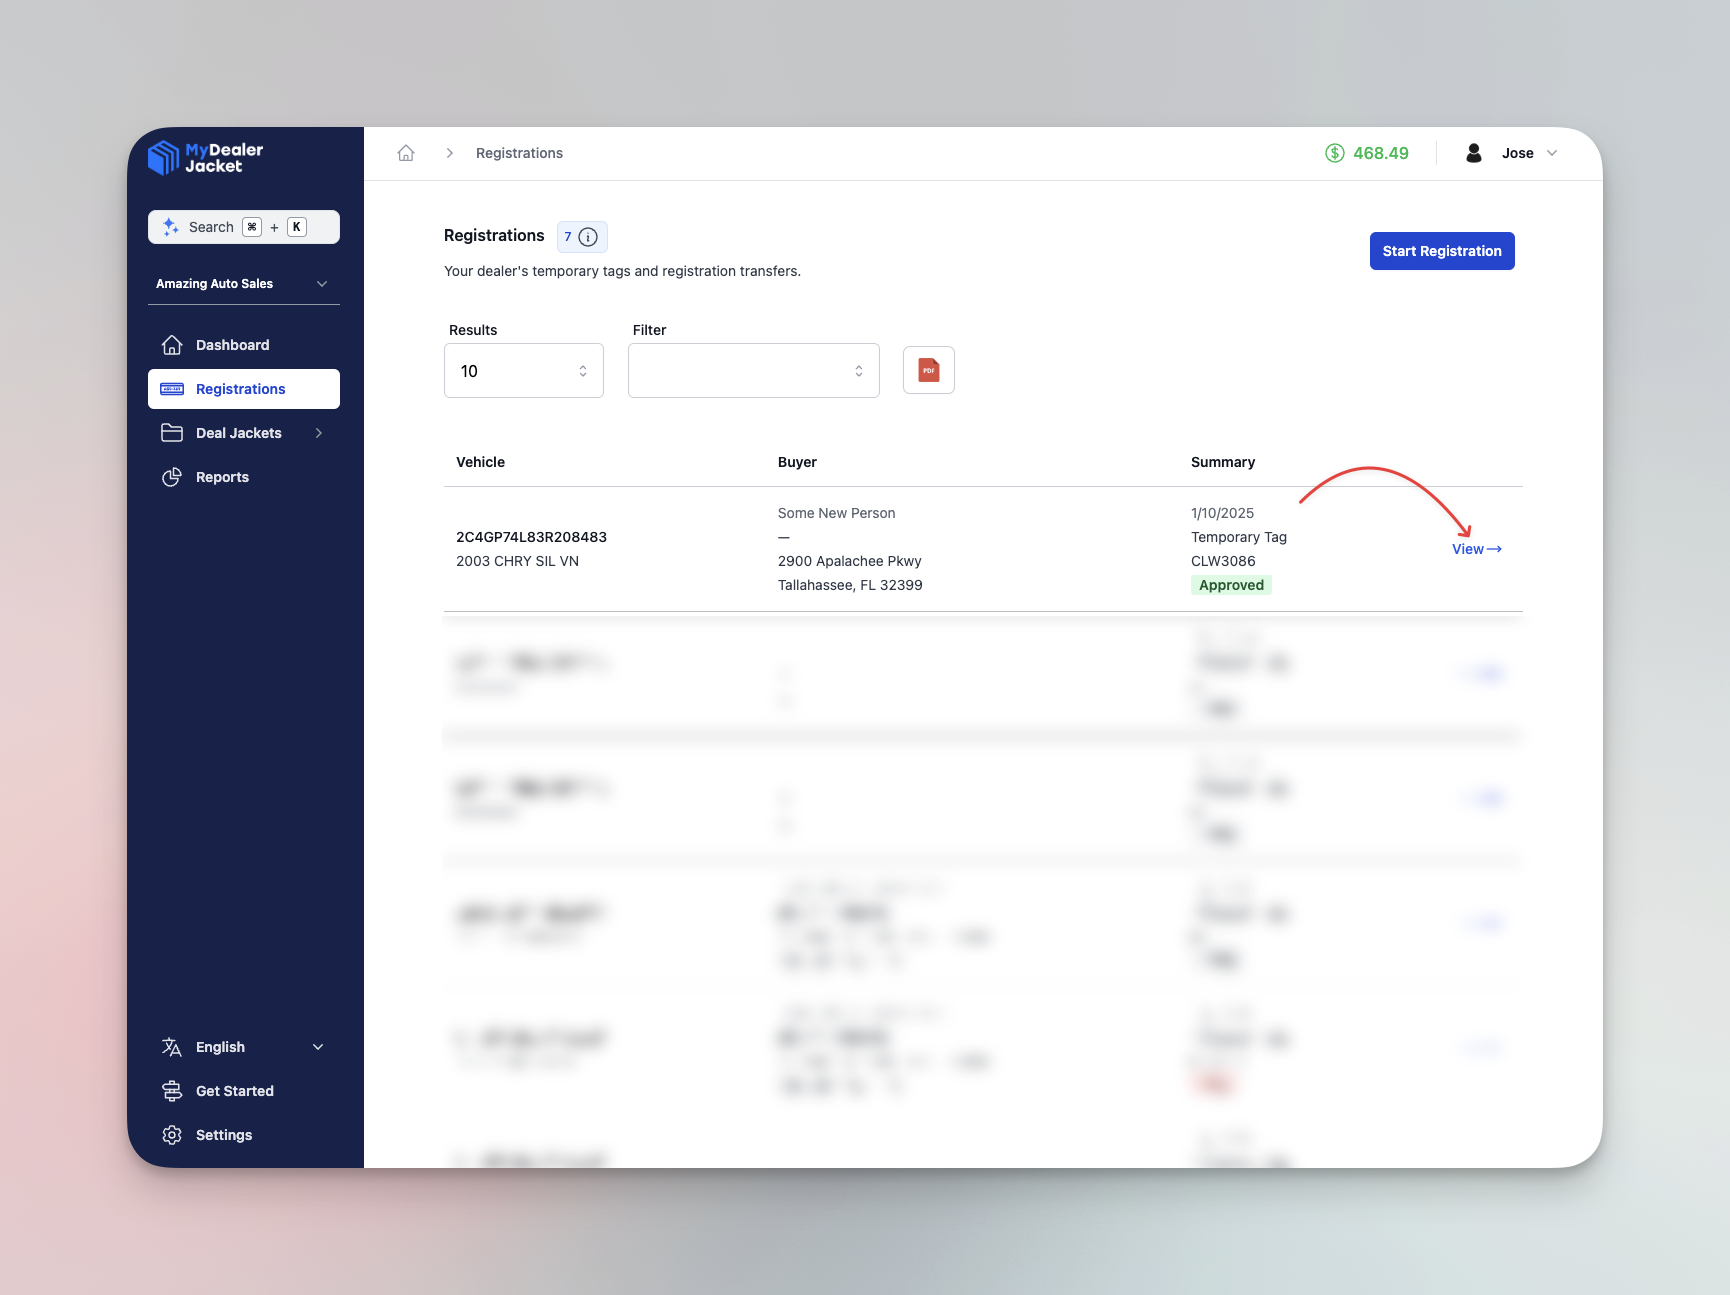
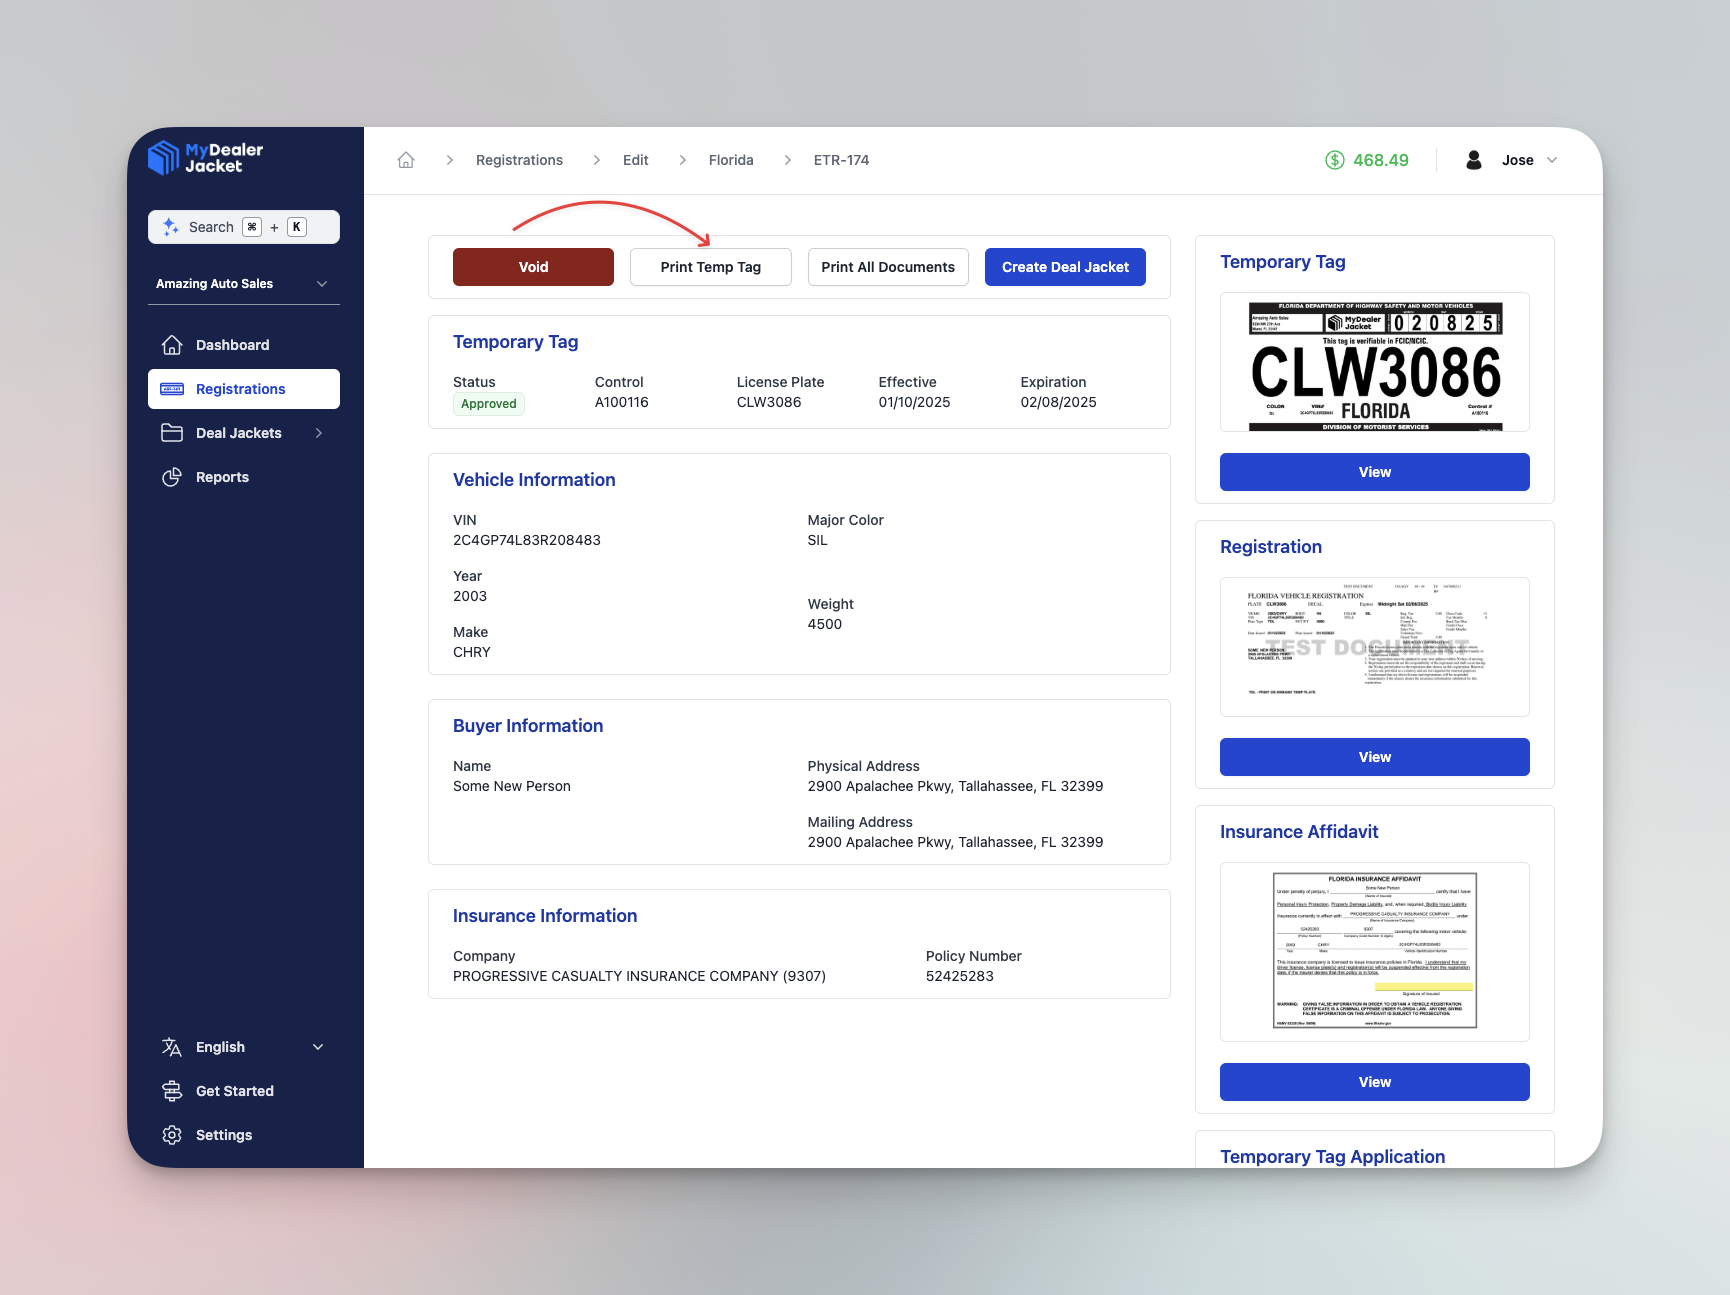
Locate the Print Temp Tag Button
On the completed issuance page, locate the Print Temp Tag button, which allows you to open the temporary tag document in a PDF format for printing.
Open the PDF Viewer
Clicking Print Temp Tag opens the temporary tag in your PDF viewer. You should see the tag displayed in full, ready for printing.
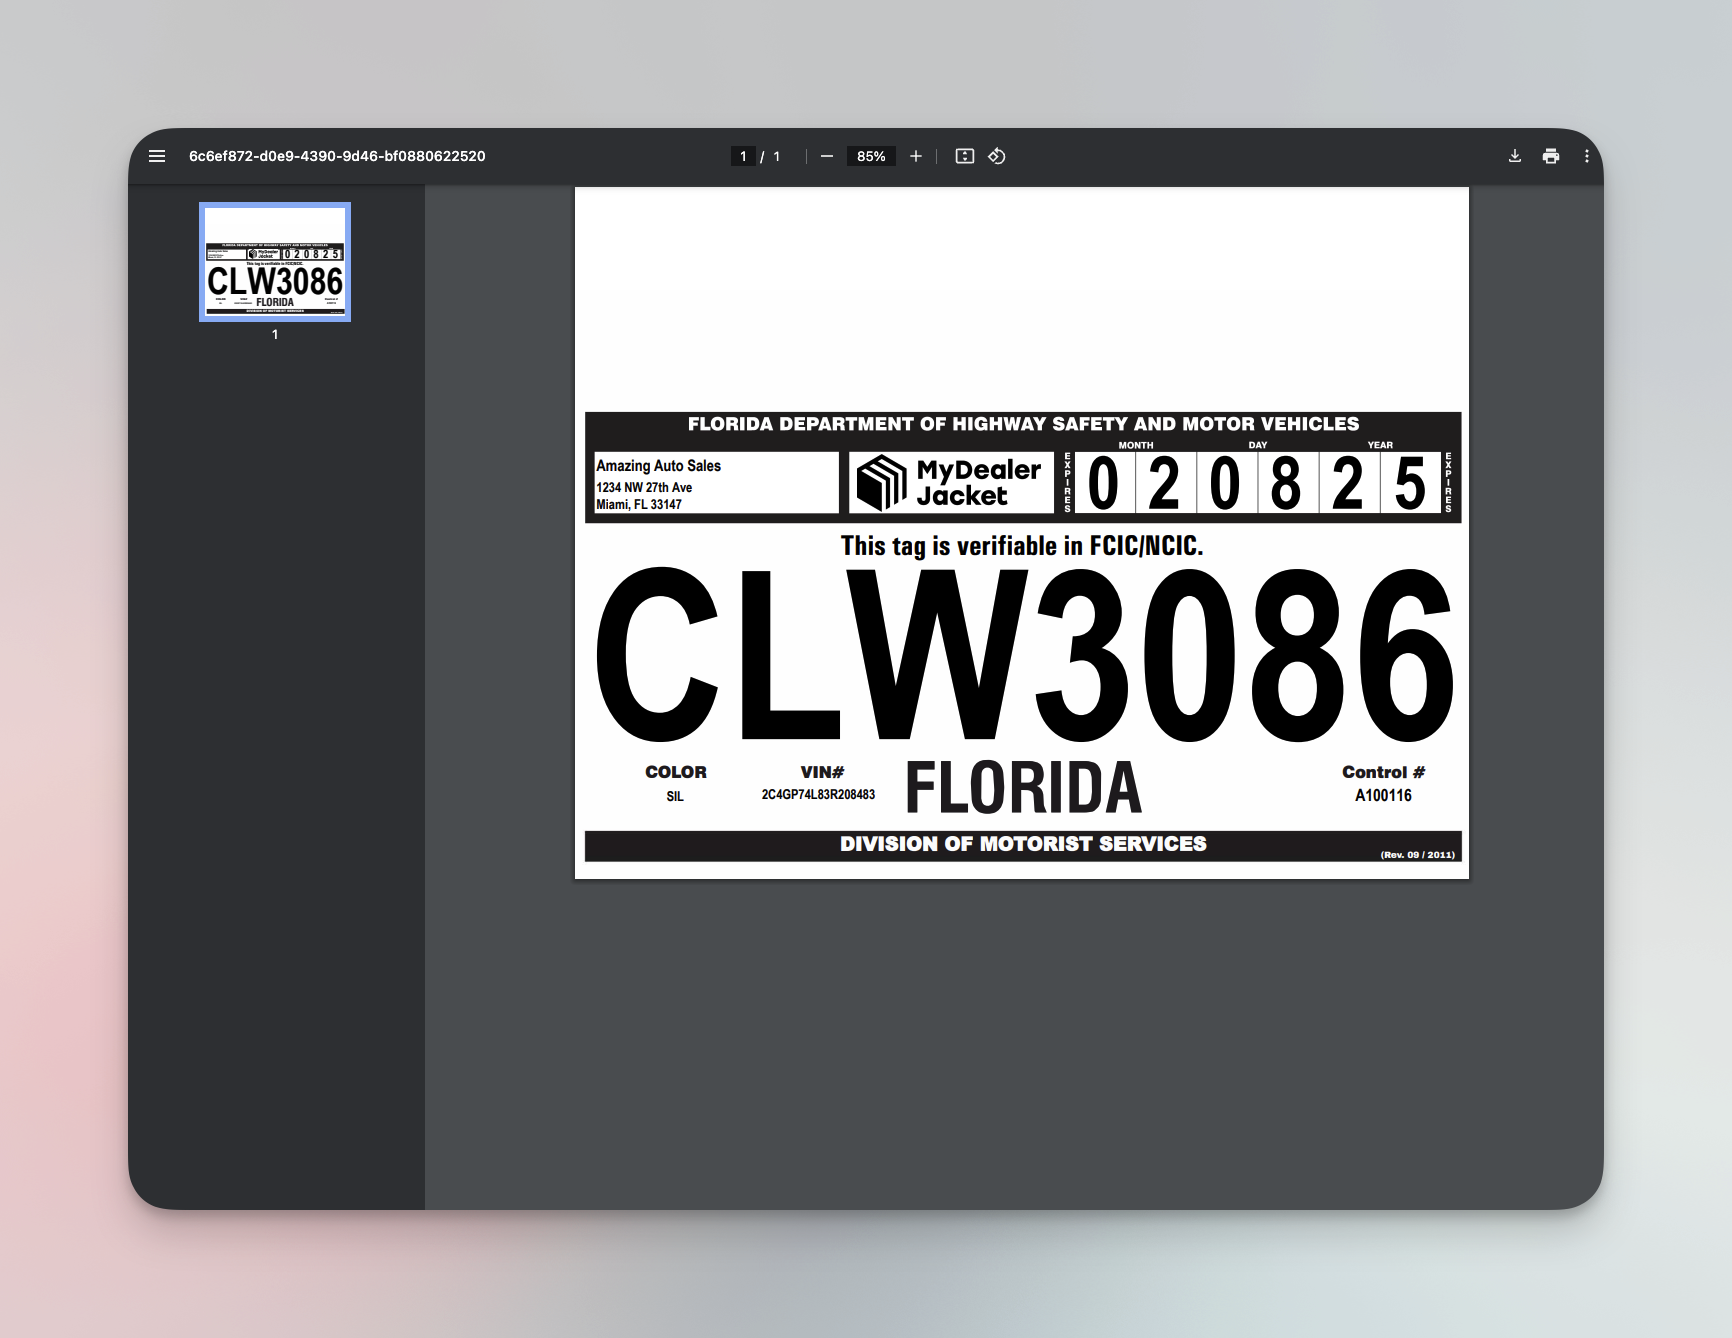
This example uses the default PDF viewer in Google Chrome. If you’re using a different browser or PDF viewer, the interface might look slightly different, but the steps should be similar. Most browsers and PDF viewers will allow you to print without issues.
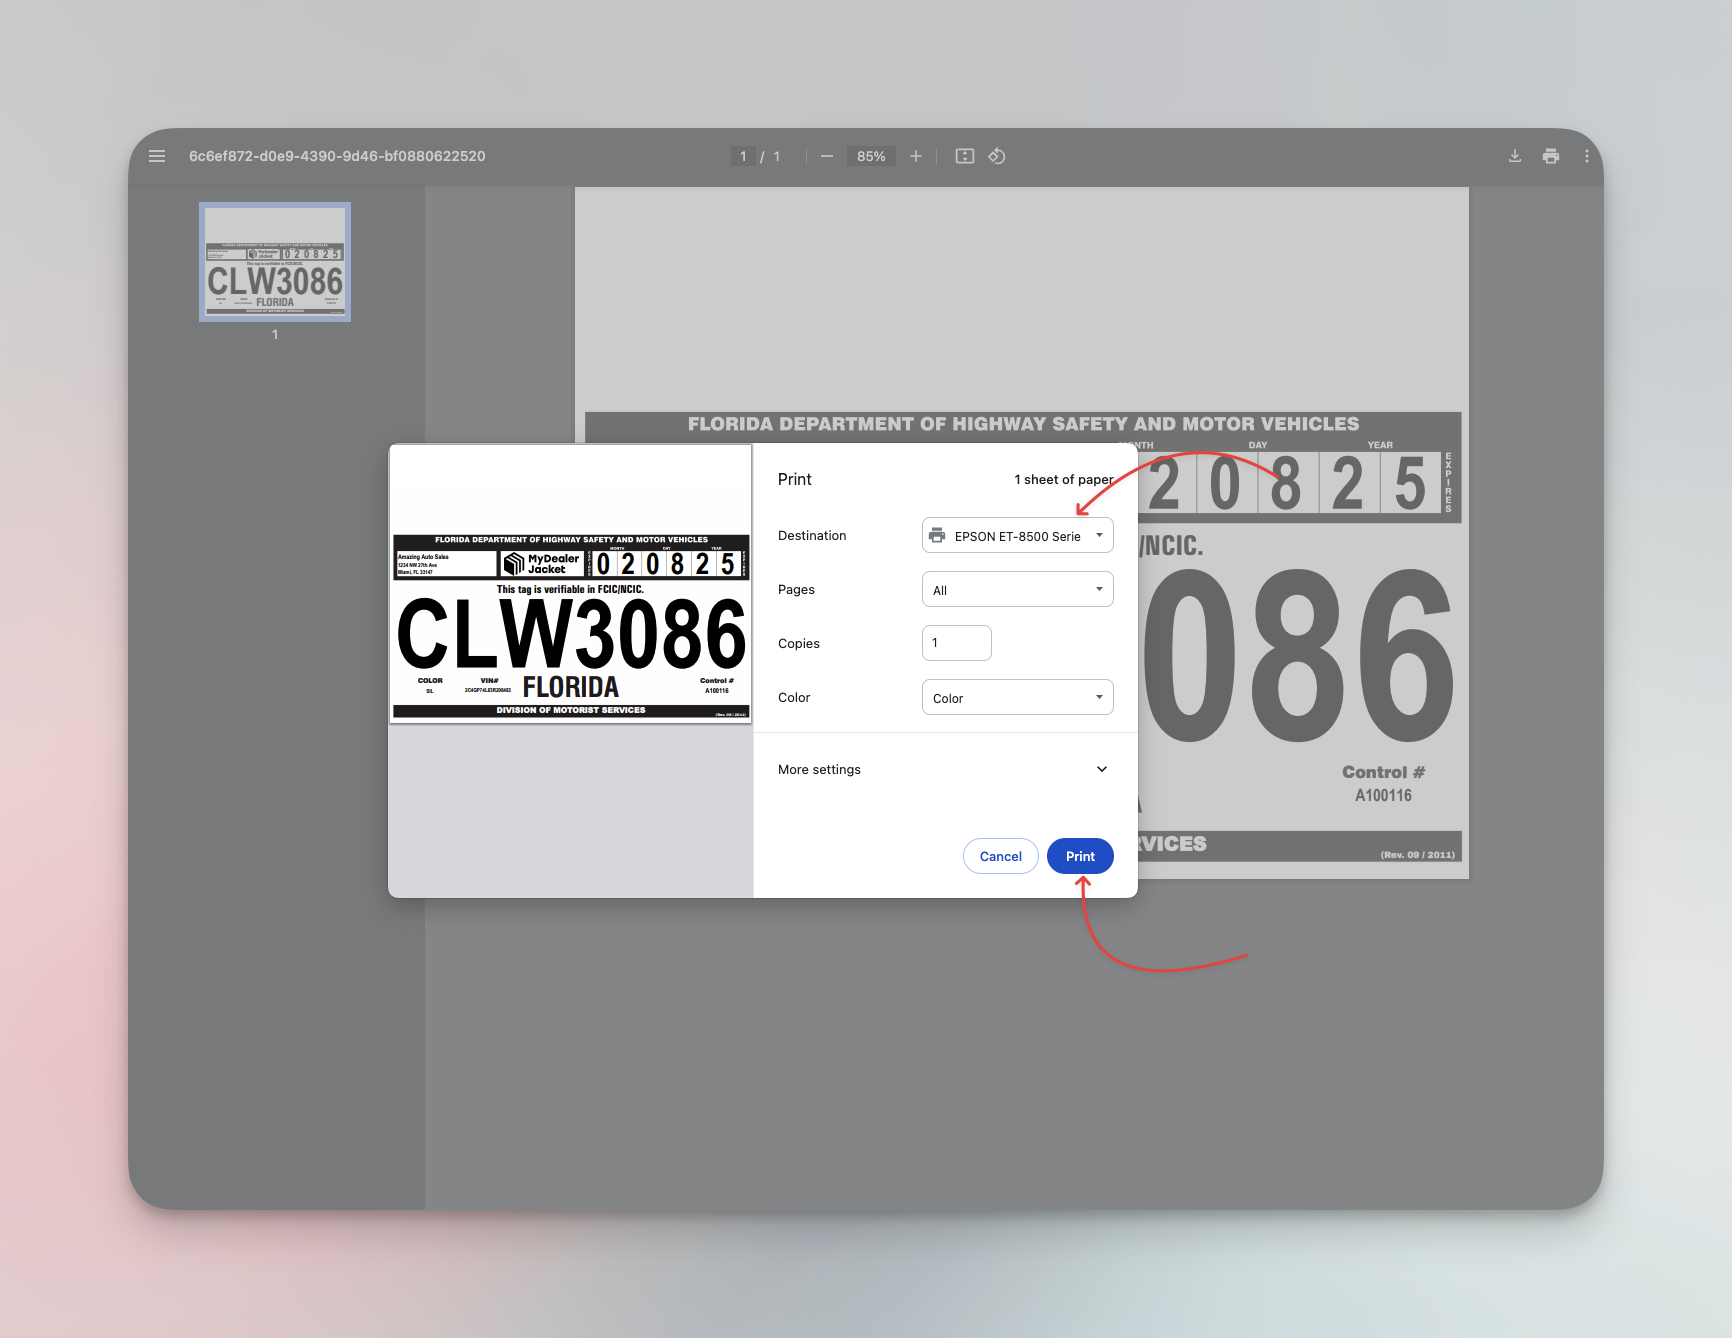
Print the Temporary Tag
To print, you can either:
- Click the Print icon in the PDF viewer.
- Or press Ctrl + P (Windows) or ⌘ + P (Mac) to open the print dialog.

When the print dialog appears, verify:
- the correct printer is selected
- all necessary settings are selected
- temporary tag paper is loaded in the printer
then click Print to print the temporary tag.
Temporary tags should be printed on official temporary tag paper. For more information on obtaining this paper, refer to our Obtaining Temporary Tag Paper article.